This traditional recipe uses lime to make a stronger, more durable Milk Paint that is inexpensive and easy to make. All of our pigment colors can be used in milk paint as the small amount of lime in the recipe will not cause loss of color. A topcoat should be applied to milk paint to protect its matte, absorbent surface. It is generally considered an interior paint unless properly coated with a suitable exterior topcoat. The amounts given will make approximately 1¾ quarts of paint, to cover approximately 90 to 100 square feet. To make less paint, simply divide the recipe in half or fourths.
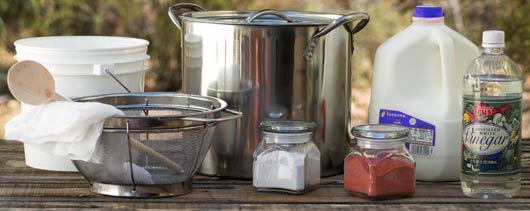
Tools
- Container large enough to hold over 1 gallon of liquid, with room for stirring
- Wood or plastic spoons, one large and one small
- ½ yard cheesecloth for straining
- Plastic containers such as two large margarine tubs, and a one gallon paint bucket
Ingredients
- 1 gallon skim milk (milk must be fat-free and fresh, not powdered)
- 2 cups white vinegar
- 112 grams Hydrated Lime*(approx ¾ cup)
- 200 grams pigment
- Water for rinsing and slaking
*If using lime putty for this recipe rather than lime powder, use twice the weight of putty and adjust any added water to create the proper consistency.
Suitable Surfaces
Surfaces that will accept Milk Paint must be absorbent and free of previous finishes. They include wood, plaster, terra cotta, clay, etc. Milk Paint will not adhere to latex or other paints. Tests on questionable surfaces should be performed to confirm adhesion. Milk Paint is a translucent coating and should not be considered as a substitute for more opaque wall coatings. It is excellent for wash techniques on bare plaster walls.
NOTE: Since quantities for dry ingredients are given by weight for accuracy, it is recommended to have a small gram scale for weighing dry ingredients.
For this recipe we are using fresh milk that will be turned to curds with the addition of vinegar (or lemon juice). By curdling to create Quark, the milk protein is concentrated within the curds making a stronger paint. In addition it will not be prone to mold as milk paints created from fresh milk can be.
Allow the milk to stand and warm to room temperature, (in any case the milk should not be allowed to warm higher than 115 degrees to protect the integrity of the casein). With the milk in a large container, stir in two cups of white vinegar. Curdling will begin immediately. Allow the mixture to sit in a warm place overnight or up to two days. Do not stir again after you have incorporated the vinegar. It is important that the quark not be disturbed so that the curds can form together. You will notice that the milk solids separate from the liquid, creating solid curds and liquid whey.
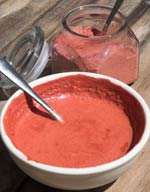 Assemble all your ingredients when ready to paint, as milk paint should be used when fresh for best results. Place your Ocher or pigment powder in a container and mix with an equal amount of water to soak. Work the pigment into a homogenous paste where all the particles have been wetted.
Place your lime in a plastic or glass (not metal) container large enough to hold two to three cups. Be careful not to inhale dust or allow dust to get on hands or in eyes. SLOWLY pour 1½ cups of water into the lime and stir into a creamy paste making sure all the lime has been wetted.
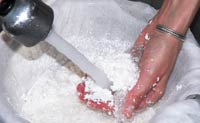 With all the ingredients prepared, have your paint bucket ready. Line the colander completely with cheesecloth. Place the colander in a sink and pour the curds and whey into it to drain the whey off. You now have small, easy to dissolve quark. Rinse the quark with cool water to remove any residual whey and neutralize the vinegar. Allow it to drain, but keep the curds dripping rather than becoming too dry. This moisture will aid in their dissolving with the addition of the lime paste.
Gather the corners of the cheesecloth and transfer the quark to your paint bucket. Make sure the curds are small and break down any that are larger pieces. Add the lime/water paste to the curds and stir well. You will immediately notice the curds turning from a lumpy mixture into a creamy paint. If some curds do not dissolve readily, the mixture can sit for 15 to 30 minutes to help break them down. Your milk paint is now ready for the addition of your slaked pigment. Stir this into the creamy quark and lime base. You may or may not need to add additional water. All ingredients should coalesce, and the consistency should be that of light cream. Be cautious of adding too much water. Strain your completed paint through more cheesecloth or a nylon stocking. Some undissolved quark may remain. Stir your paint thoroughly and often during application. Extra paint can be stored up to several days in the refrigerator, however it will begin to separate so try to use it fresh.
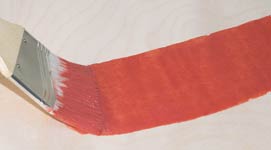 The first coat of milk paint will appear thin. If your base is too absorbent, the first coat can be diluted 20 to 50% with water as a priming coat.
Fillers or Extenders in Milk Paint
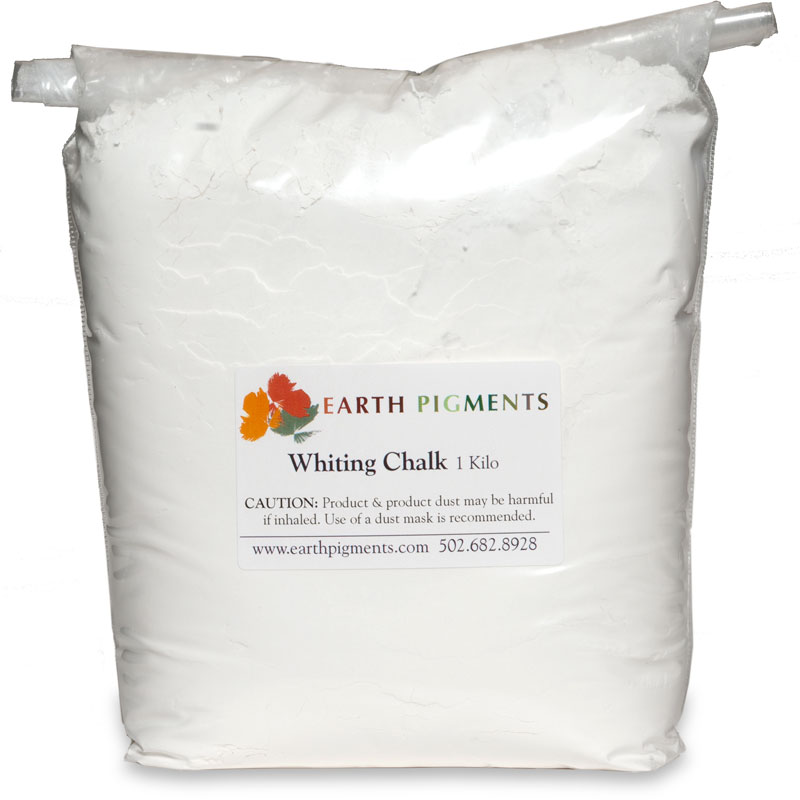
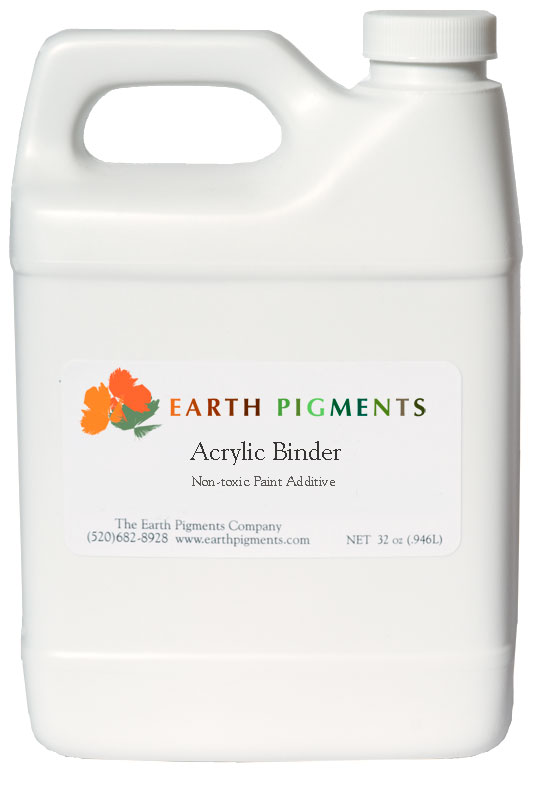
Many pigmented milk paint recipes add fillers such as Whiting Chalk or clay. We discourage the use of Whiting Chalk in Milk Paint because it has no binding power and promotes separation. However clay such as a neutral colored Kaolin Clay can be a good extender for Milk Paint. Keep in mind that the color will be affected, as less pigment can be used in the recipe. Clay will also lighten the color of any pigment used. Linseed Oil can be used as an additive to milk paint. To use, emulsify 1/4 cup of linseed oil into the quark after the lime has been added and allowed to set in the quark, and before the final addition of water. Our Acrylic Binder can also be added to milk paint to increase adhesion on questionable surfaces. Add at the recommended ratio to your prepared paint.
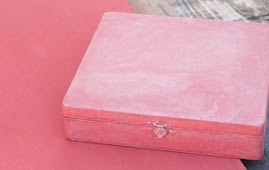 Here we have the finished paint after three coats on wood. Our Rosewood Mineral pigment appears brilliantly in the translucent milk paint base. On the bottom is the milk paint without any topcoat. The box on top has been given a topcoat of our Stone Tone Sealer with the addition of Super Sparkle Mica to give it a subtle sheen.
One of the advantages of milk paint over latex paint is its versatility in finish coats. Once dry, milk paint can be protected with virtually any topcoat whether natural or acrylic/urethane. A protective finish coat is recommended and will enhance the color.

